ps自动混合图层后蒙版全黑
This article was written in and remains one of our most popular posts. If you’re keen to learn more about Photoshop, you may find this more recent article on getting started with Photoshop of great interest.
本文写于,至今仍是我们最受欢迎的帖子之一。如果您想了解有关Photoshop的更多信息,您可能会发现这篇关于Photoshop入门的最新文章非常感兴趣。
It doesn’t matter if you are a photographer or a graphic designer, chances are that you have come across the need to fade or blend images in Photoshop. There are many different methods and techniques that will help you to blend images together. One of them is called a layer mask. Even with layer masks there are different techniques for blending one layer with another.
不管您是摄影师还是图形设计师,都可能会遇到需要在Photoshop中淡化或混合图像的需求。 有许多不同的方法和技术可以帮助您将图像融合在一起。 其中之一称为图层蒙版。 即使使用层遮罩,也存在用于将一层与另一层混合的不同技术。
One method is to create a layer mask on a layer, and then use the brush tool to paint over the areas that you want to mask or blend with black. Any positive value other than white will allow you to implement a soft mask. The lightest grey will blend the edge of a mask.
一种方法是在图层上创建图层蒙版,然后使用画笔工具在要蒙版或与黑色混合的区域上绘画。 除白色以外的任何正值都将允许您实现软遮罩。 最浅的灰色将融合蒙版的边缘。
The other method is to use the gradient tool to blend an image in a uniform manner. The key phrase to remember is that black conceals and white reveals. This means that anywhere that you paint on the layer mask with black will fade the image on that layer. If you have faded or blended an image too much, simply switch your brush color to white. White will bring back the image for that layer.
另一种方法是使用渐变工具以均匀的方式混合图像。 要记住的关键词是黑色隐蔽和白色隐蔽。 这意味着您在图层蒙版上用黑色绘制的任何位置都会使该图层上的图像褪色。 如果您过多地淡化或混合了图像,只需将笔刷颜色切换为白色即可。 白色将带回该层的图像。
第1步:将您的图像导入Photoshop (Step 1: Bring Your Image Into Photoshop)
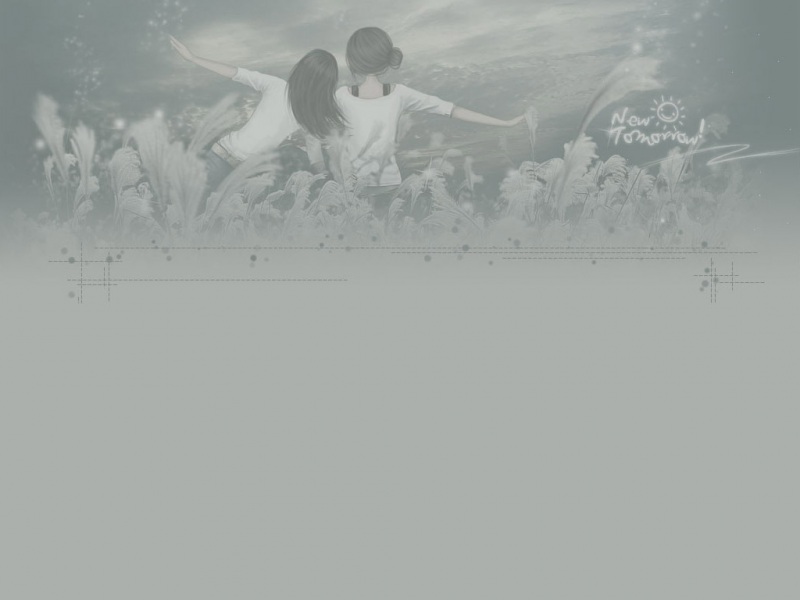
Open your image in Photoshop. Depending on your desired orientation, you will set up your file to mask part of the image out. I downloaded an image of a woman doing yoga. You can download it here.
在Photoshop中打开图像。 根据所需的方向,您将设置文件以掩盖部分图像。 我下载了一个女人在做瑜伽的图片。 您可以在此处下载。
步骤2:解锁背景图层 (Step 2: Unlock your background layer)
Double-click the background layer to unlock it. This will allow you to move it around as you please. When the layer is locked, you can’t move the image on that layer. Photoshop will display a popup message reminding you that a layer is locked.
双击背景层将其解锁。 这将使您可以随意移动它。 图层锁定后,您将无法在该图层上移动图像。 Photoshop将显示一条弹出消息,提醒您图层已锁定。
步骤3:定位图片 (Step 3: Position Your Image)
Position your image layer in the document as you wish. This may mean that you have to crop your image, or move it around. If you move it so that part of it goes off of the canvas that is okay. This part of the image won’t be printed and won’t show up in a flattened file. I moved our yoga image to the left, so that a good portion of the left side goes off of the screen. This opens up space on the right side to place text.
根据需要将图像层放置在文档中。 这可能意味着您必须裁剪图像或四处移动。 如果您移动它,使其一部分脱离画布就可以了。 图像的这一部分将不会打印,也不会显示在拼合文件中。 我将瑜伽图像移到左侧,以便左侧的很大一部分脱离屏幕。 这在右侧打开了放置文本的空间。
步骤4:在图片下方添加新图层 (Step 4: Add a New Layer Below Your Image)
Create a new layer below your photo. We are going to fill this layer with a solid color, and blend the photo to ease the transition between the photo and the solid color.
在照片下面创建一个新图层。 我们将用纯色填充此层,并混合照片以简化照片和纯色之间的过渡。
第5步:从图像中采样颜色 (Step 5: Sample a Color From Your Image)
When using this technique, it is usually a good idea to choose a color from your photo. This technique adds a sense of uniformity to your work. I sampled a darker shade of hot pink from the woman’s pants. I filled the blank layer below our photo with this color by holding option/alt and hitting the delete key.
使用这种技术时,通常最好从照片中选择一种颜色。 这种技术为您的工作增添了统一感。 我从那位女士的裤子上采样了一种较深的粉红色。 通过按住option / alt并按Delete键,用这种颜色填充了照片下面的空白层。
第6步:融合图像 (Step 6: Blend Your Image)
In the Layers Panel, make sure the layer with your photo is selected, and click the Layer Mask icon. This will create a blank mask for your photo. You know that a mask is active, when there is a black outline around the layer mask icon. Select the gradient tool, and draw a black to white gradient from the right edge of the photo, to the left. Don’t go past a 4th or 5th of the right portion of the photo. If the mask is too much or not enough, hold command/ctrl and hit the Z key to undo your gradient and try again.
在“图层面板”中,确保已选择包含照片的图层,然后单击“图层蒙版”图标。 这将为您的照片创建一个空白蒙版。 当图层蒙版图标周围有黑色轮廓时,您知道该蒙版处于活动状态。 选择渐变工具,然后从照片的右侧到左侧绘制一个黑色到白色的渐变。 不要超过照片右侧部分的第4或第5。 如果蒙版太大或不够,请按住command / ctrl并按Z键撤消渐变,然后重试。
步骤7:添加某种类型 (Step 7: Add Some Type)
Select your text tool and type out your text. I sampled a yellow color from the leaves in the background, as this will help to further unify our design, and yellow works very well on pink/purple.
选择您的文本工具,然后输入文本。 我从背景中的树叶中采样了黄色,这将有助于进一步统一我们的设计,而黄色在粉红色/紫色上效果很好。
步骤8:建立酥脆的阴影 (Step 8: Create a Crisp Shadow)
Duplicate the text layer, and for the bottom text layer, double-click the “T” icon to select all of the text in that layer. Click the foreground color swatch in the Toolbox to bring up the color picker. You automatically get the eyedropper tool when you hover over your file. With the eyedropper tool, select a darker green color for the bottom text layer. Select the move tool and while using your arrow keys, hit the left arrow twice and the down arrow twice. This adds a nice shadow effect to your type, all while using colors found in your photo.
复制文本层,然后对于底部的文本层,双击“ T”图标以选择该层中的所有文本。 单击工具箱中的前景色色板以调出颜色选择器。 将鼠标悬停在文件上时,将自动获得吸管工具。 使用吸管工具,为底部的文本层选择较深的绿色。 选择移动工具,然后在使用箭头键的同时单击两次左箭头和两次向下箭头。 在使用照片中发现的颜色的同时,这会为您的类型增加漂亮的阴影效果。
If you enjoyed reading this post, you’ll love Learnable; the place to learn fresh skills and techniques from the masters. Members get instant access to all of SitePoint’s ebooks and interactive online courses, like Foundations of Photoshop.
如果您喜欢阅读这篇文章,您会喜欢Learnable的 ;向大师学习新鲜技能的地方。会员可以立即访问所有SitePoint的电子书和交互式在线课程,例如Photoshop的基础 。
Comments on this article are closed. Have a question about Photoshop? Why not ask it on our forums?
本文的评论已关闭。有关于Photoshop的问题吗?为什么不在我们的论坛上提问呢?
翻译自: /photoshop-fade-layer-mask/
ps自动混合图层后蒙版全黑
如果觉得《ps自动混合图层后蒙版全黑_使用图层蒙版在Photoshop中淡化和混合图像》对你有帮助,请点赞、收藏,并留下你的观点哦!